Are you having trouble with an unauthorized phone to use voice or an error code MM#6 after inserting the SIM card? If so you’re at the right place. Today, we will to talk about what you can do to correct the issue that phone not allowed MM#6 error.
Whatever you imagine or think about whatever you do, the phone is the first to act. There is no way to imagine the world without smartphones. A lot of people are obsessed with purchasing new smartphones. Those who aren’t able to afford the cost of new phones are opting for EMIs or refurbished phones. When it comes to old phones there is a huge market of second-hand phones and people buy used phones to save cash for the more expensive models.
One of the main issues or cons that are associated with the repaired smartphones is the errors MM#6. If you’ve bought the phone and are experiencing the same error in your device, then the Android Portal is here to help you. Before you jump to the solution, we need to learn more about the issue.
How to get rid of phone not permitted MM#6 error
If you receive your phone, swap the SIM card and then make a phone call. If the device is tied to a different carrier. You’ll get an error message “Phone not allowed: Error MM#6.” The error signifies that you’re looking to make use of a device tied to a different carrier. There are numerous ways to solve this problem.
The choices will differ based on the service you have. But, the simplest and most effective method is to ensure you own a genuine, unlocked phone.
By doing this, you can reduce the chance of having to face this issue. Here are four methods to work around this error
7 Tips To fix MM#6 errors on smartphones.
If you experience MM#6 errors when you make calls or send messages, it is simply because your phone is locked or tethered in configuration. We offer a range of options to resolve this issue, However, each of the options is different depending on the provider.
1. Call Your Network Operator First
The most efficient and effective method to fix the issue is to call the service center of the same provider and request that they unblock your phone.
There is no guarantee that the issue can be fixed once you contact the phone carrier. However, it is advisable to test this first because, sometimes, upon verification, they will unlock the phone on their own.
2. Dialing the Unlock Code
If the first method doesn’t work Try dialing *#78# from your dial pad menu. This will disconnect from the service provider and allow you to unlock your phone however it is not applicable to all users. If the method succeeds, you can make use of a different SIM card to connect to the phone.
Unfortunately, if you are not able to unlock your phone, try the other methods below. This method isn’t suitable for everyone because not all carriers support the same combination of numbers for unlocking the phone.
3. Do some research on the specific phone.
If any of the two options that we discussed don’t solve the MM#6 error, the last option is to use it on the internet. You can search for your exact phone’s manufacturer, carrier, and unlock options for your phone.
One of the common outcomes that you will see can be unlocking the phone via rooting.
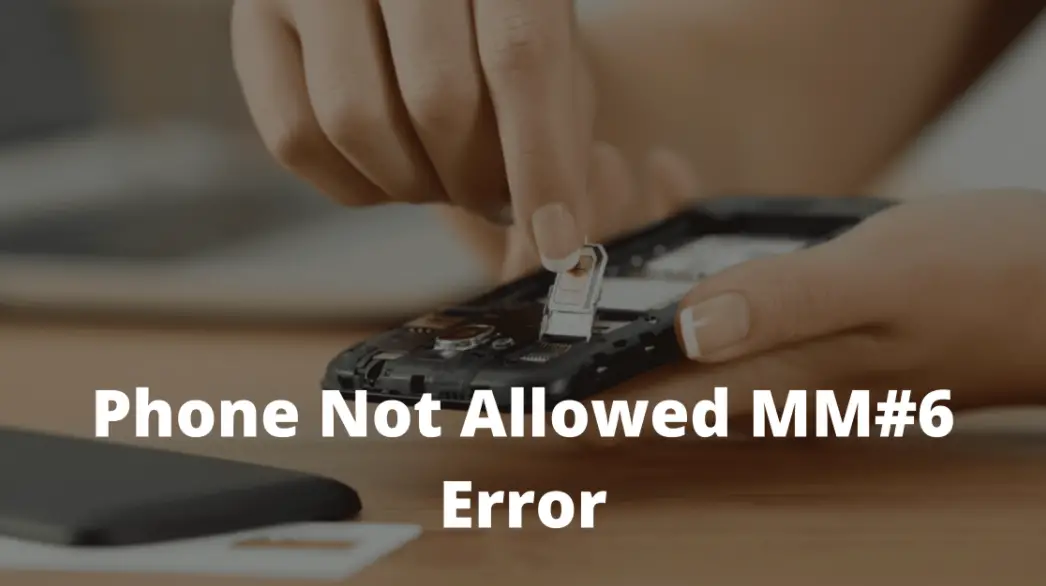
4. Reinsert SIM Card
If neither of the solutions above does work and the issue persists, try reinstalling the SIM card into your phone. Here are the steps you should follow to fix the issue if the Sim card is the cause of the problem.
Step-1: Turn off your device
Step 2: Open the SIM tray and insert the PIN, or clip, and take off the SIM card after five minutes.
Step 3: Reinsert the SIM card into the tray and secure it
Step-4: Turn on your device
- Make an appointment and see if the issue is resolved or not.
5. Automation of Network Selection
There is a high chance that the issue is due to an insufficient or incorrect network selection. To solve this issue Follow the easy steps listed below.
- Click on”Settings” from the ” Settings” menu in the notification panel.
Second step: On the Settings menu, choose ” Connections” In some phones, there is an option with various names, such as ” SIM Card And Mobile Networks”. Based on the model of your phone choose the one that is appropriate for you.
Step 3. Find the “Mobile Networks” ” Mobile Networks” option and click on it.
Step 4. Next, in the list, click on ” Network Operators.”
Phase 5: Pick the desired network, and then tap ” Select Automatically.”
Step 6 After that, reboot your device and ensure whether the issue is resolved.
6. Updating the Device
Sometimes, the software on the device is corrupted and an error MM#6 is experienced. To fix this problem, update your device to the most recent version. To accomplish this, follow the steps below.
- Navigate to your notification screen and then click” Settings Menu. ” Settings Menu.”
Step 2. Scroll to the end of the list until you come across the option for updating the software. In certain phone models, this feature may be found in”about the phone. ” About Phone” section.
Step 3. Find out if any updates to your software can be downloaded for the device you are using.
step 4: Yes, refresh your device, and ensure that the process is completed
- Start your computer and determine if updating has resolved the MM#6 issue or not.
7. If nothing else works
If none of our suggestions are working for you The best solution to resolve the warning message would be to ask for assistance from the provider. Contact them via phone or emailing them and explain the issue without leaving any information.
Inquiring for the help of the company is the best option since they’ll ensure that you are in compliance with U.S. laws as well as the state laws. They will also determine the correct way to address the issue.
Conclusion
Therefore, these were the feasible solutions to the MM#6 issue. If the above methods are unsuccessful, the best alternative is to go to the nearest authorized retailer, whether that is a phone manufacturer or a network operator.
Thanks for your valuable time and for reading this post on theandroidportal.com. For updates, be sure to stay connected and check out the latest technology fixes together.